Support
How To Calibrate a Mac Laptop's Power System
While Newertech Batteries Are Shipped Up To 30% Pre-Charged...
- Your new battery to achieve its fullest charge capacity.
- Your new battery to reach its full lifespan.
- The system to accurately display the battery level.
You can also use this power system recalibration guide with the stock battery that came with your Apple laptop.
Calibrating The Power Management System Is Easy To Do.
After The New Battery Is Installed...
-
Step 1 – Verify Installation
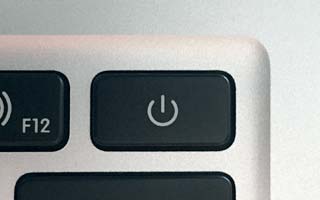
- To ensure the new battery is properly installed, turn the computer on without the power adapter connected.
- If the computer starts up normally, the battery is properly installed and you can proceed to Step 2.
- If the computer does not start up, please double-check the battery install instructions to ensure it's correctly installed.
-
Step 2 – Charge The Battery To 100%
- Shut down the computer and then connect the power adapter.
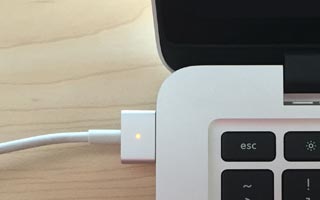
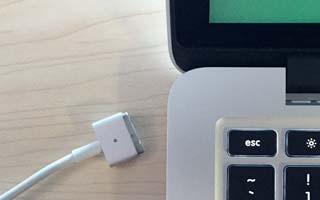
- Keep the computer plugged in until the light on the power connector turns green indicating a 100% charge.
-

Step 3 – Charge Two More Hours
- After the battery is 100% charged, keep the power adapter plugged into the computer for an additional 2+ hours.
- The computer can be powered up and used during this time.
-
Step 4 – Temporarily Change the Energy Saver Settings
- If the computer is off, you'll need to turn it on.
- In OS X System Preferences click on the Energy Saver preferences.
-
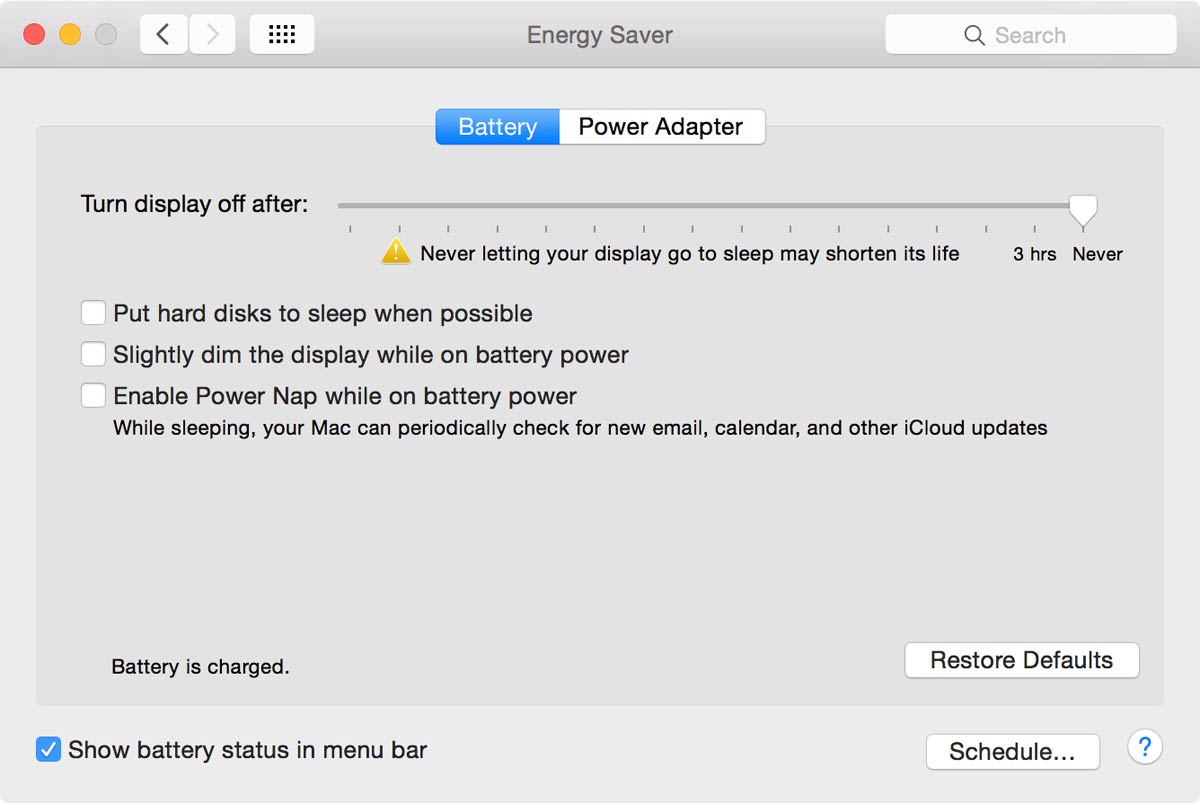
In the Energy Saver / Battery preferences:
- Set the "Turn display off after:" slider to "Never"
Various Mac models may have two sliders for "computer sleep" and "display sleep". If you have two sliders, simply slide both to the right to set them to "Never" - UNCHECK "Put hard disks to sleep when possible"
- UNCHECK "Slightly dim the display while on battery power"
Note: The location / existence of certain settings may shift or vary depending on your computer model or OS version.
- Set the "Turn display off after:" slider to "Never"
-
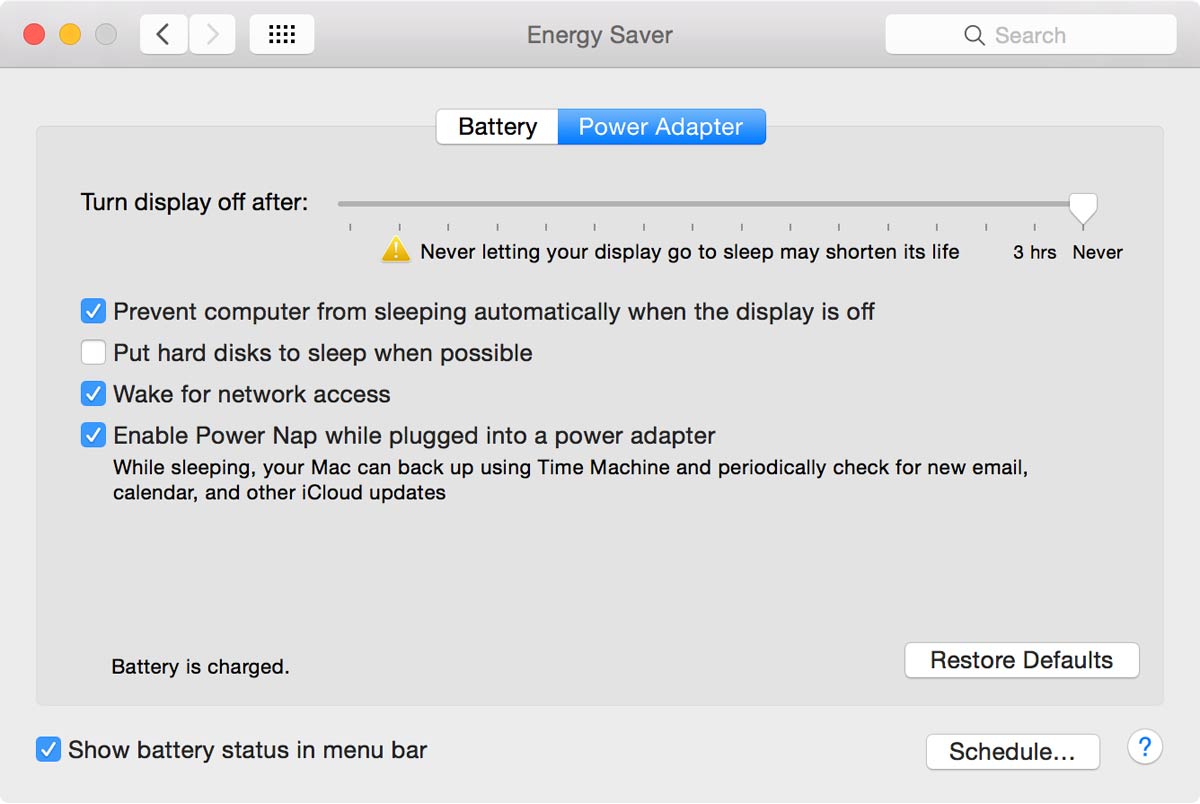
In the Energy Saver / Power Adapter preferences:
- Set the "Turn display off after:" slider to "Never"
Various Mac models may have two sliders for "computer sleep" and "display sleep". If you have two sliders, simply slide both to the right to set them to "Never" - CHECK "Prevent computer from sleeping automatically when the display is off"
Note: this setting may or may not be available depending on your model or OS version. - UNCHECK "Put hard disks to sleep when possible"
Note: The location / existence of certain settings may shift or vary depending on your computer model or OS version.
- Set the "Turn display off after:" slider to "Never"
-
Step 5 – Unplug And Drain The Battery
- Unplug the power adapter.
- Leave the computer on until it automatically shuts down.
- You can use the computer during this step, but don't put the computer through heavy use to deplete the battery faster. Steady, even usage is better for power system calibration.
-
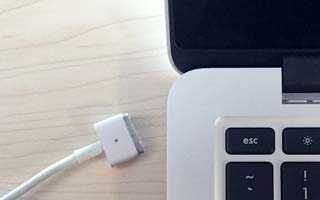
Step 6 – Leave It Off And Unplugged
- After the computer has automatically shut down, leave it shut down for at least 5 hours or overnight. This will ensure the battery is completely drained of energy.
-
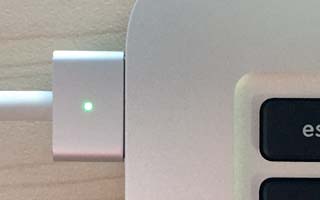
Step 7 – Charge To 100% Again
- Plug the computer back in until the battery is 100% charged.
- While plugged in, the computer can be used.
- This is also a good time to go back and select your desired Energy Saver preferences.
